ReachUC for Outlook 365 Online
This article will help you install and give an overview of the features of ReachUC for Outlook 365 Online on your browser. The ReachUC add-in not only gives the user the ability to call, send SMS or fax to phone numbers in email messages but also schedule meetings, save contacts to the PBX and act as a softphone via the keypad in the add-in.
Installing the ReachUC Add-in for Outlook 365 Online
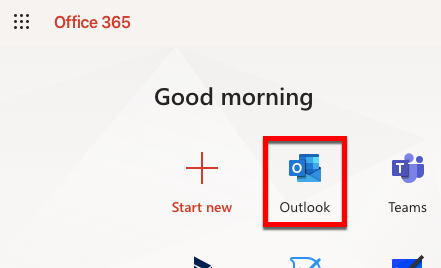
- Log in to your Office account and open the Outlook app by clicking on the Outlook icon on the dashboard
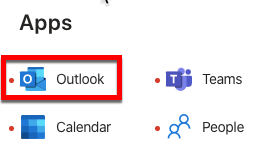
 or click on the App Launcher icon
 and clicking on the Outlook icon in the menu.
- After the Outlook app opens you can open any message.
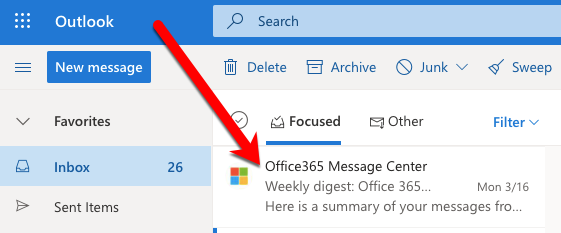
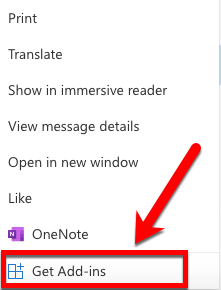
- From the message view click on the menu icon
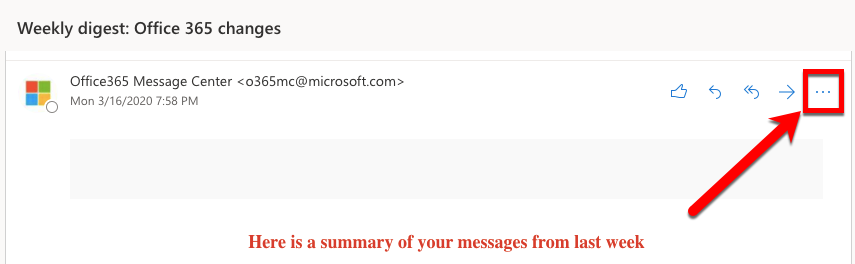 and click on Get Add-ins (bottom of the menu).
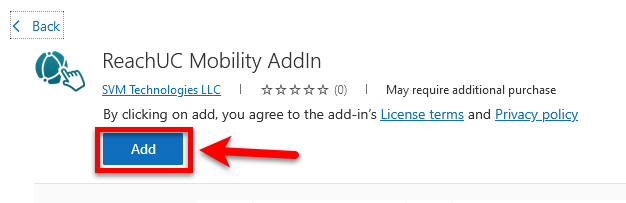
- Search for ReachUC and click on ReachUC Mobility AddIn

- In the ReachUC Mobility Add-in page click the Add button to install the add-in to your Outlook.
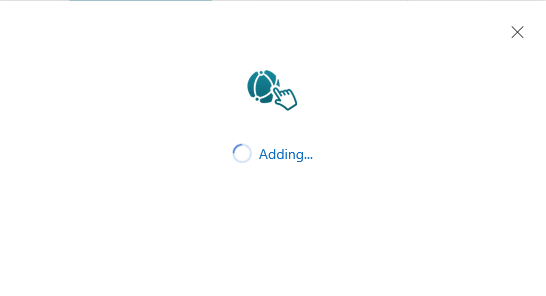
- You will then see the ReachUC add-in being installed.
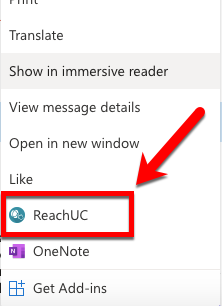
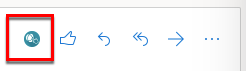
- When completed you may close the get add-in dialog and you will now see the ReachUC icon when opening messages.
Features and Use of the ReachUC Add-in for Outlook 365 Online
To open the ReachUC Add-in pane you will need to go to the message menu like before during the installation process but now you will find a new icon, the ReachUC icon. Clicking the icon will open the ReachUC Add-in pane.
Tip: For easy access to the ReachUC add-in you can add it to the menu bar in the message view with the following steps.
- Select Settings > View all Outlook settings > Mail > Customize actions.
- Select the checkbox for the add-in that you want to see when you’re composing a message.
Once the ReachUC add-in is open it will initially ask you to log-in. Enter your ReachUC username and password and click on the Log In button. Note: For problems logging in please contact your service provider for help.

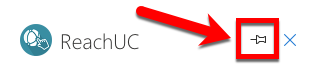
Tip: If the Microsoft account type and platform used supports the pin feature you can click the pin icon in the ReachUC add-in to keep it open on the task pane.
Phone Numbers section
When logged in, the ReachUC add-in will show any valid phone numbers (except if the number is your own) in your open message under the Phone Numbers section of the add-in.

Besides any phone number recognized by the add-in, you will find the action icons for:
![]() Call the phone number
Call the phone number
This will initiate a call by ReachUC making a call to your account’s phone number and if you accept the call it will then ring the phone number in the add-in.
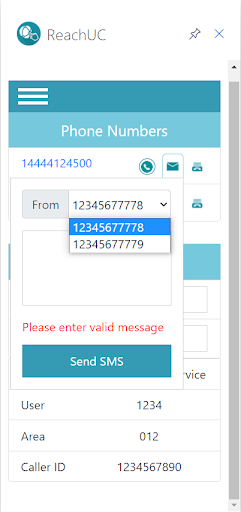
![]() Send a message to the phone number
Send a message to the phone number
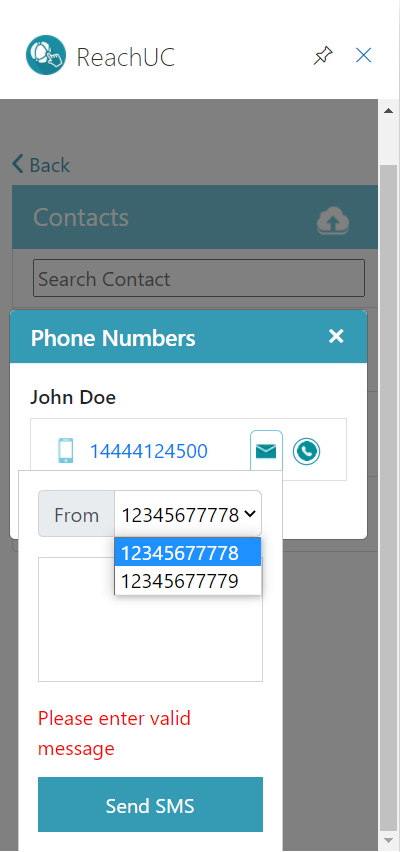
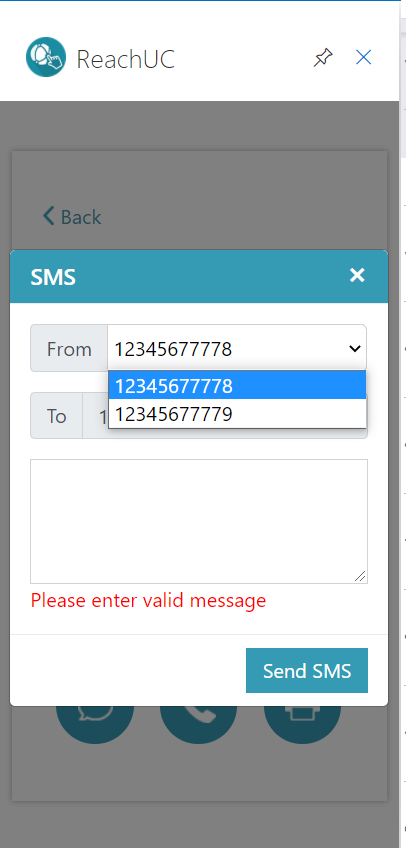
This will open a dialog where you can type in the message in the text box and just click the Send SMS button to send the message.
If you have multiple SMS-enabled phone numbers you can select one for use to send in the From dropdown menu. In case that you have no SMS-enabled number, the messaging pane will display a “You have no SMS phone number.” message.
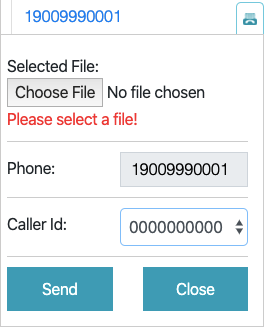
![]() Send a fax message to the phone number
Send a fax message to the phone number
This will open the dialog where you can select the file to send via fax and also choose the Caller ID that will appear in the sent fax (only applies if you have multiple numbers associated to your account).
ReachUC Add-in Menu
By clicking the Menu icon you can access additional features in the ReachUC add-in such as:
- Meeting Manager
- Contacts
- Keypad
Meeting Manager
From here you can create and schedule meetings.
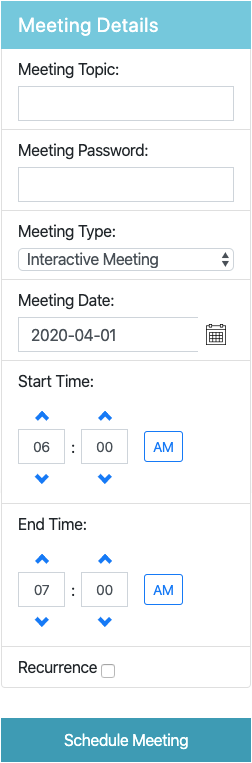
You can set the Topic and Password for the meeting, choose the meeting type (Interactive Meeting, Remote Support, Remote Access to this Computer, Webinar, and HD Video Conference), the date, and the start and end time for the meeting. You can also choose if this is a recurring meeting by checking the Recurrence checkbox.

Contacts
This will show you your Outlook contacts.
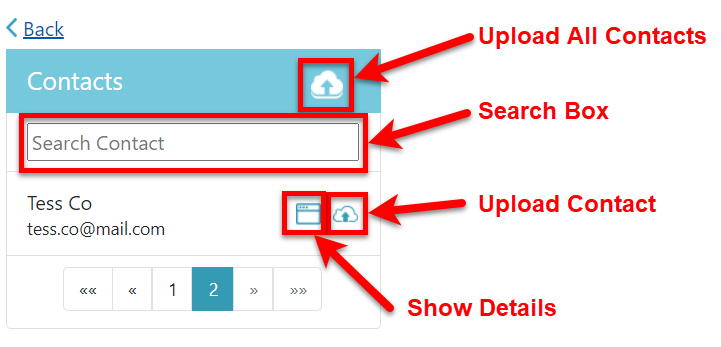
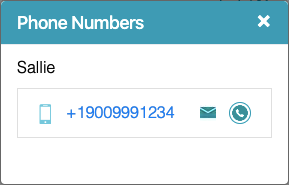
Use the search box to look for specific contacts. The folder icon beside the contact will show more details and icons to send a message or start a call to the number beside the icons.
When sending a message and if you have multiple SMS phone numbers you can select one for use to send in the From dropdown menu. In case that you have no SMS-enabled number, the messaging pane will display a “You have no SMS phone number.” message.
You may also save all contacts listed to PBX by clicking the upload icon found at the top while clicking the upload icon beside any contact will upload only that contact to PBX.
Note: It will initially request for permission to access your contacts data from Microsoft. If so, simply click on Accept to proceed.
Keypad
This will open a keypad to use to type in a number and then the option to Send SMS, Call, or Send Fax to the number by clicking the corresponding icon below.
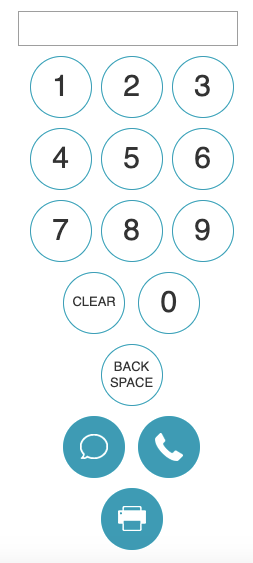
When sending a message from the Dialpad you can select the SMS Caller ID to use if you have multiple SMS-enabled phone numbers. In case that you have no SMS-enabled number, the messaging pane will display a “You have no SMS phone number.” message.
Open ReachUC
This will open up the ReachUC website on your browser.
Logout
This will log you out of ReachUC and bring you back to the login screen of the ReachUC add-in.
Properties section
The properties section when expanded by clicking the title will show your ReachUC account details
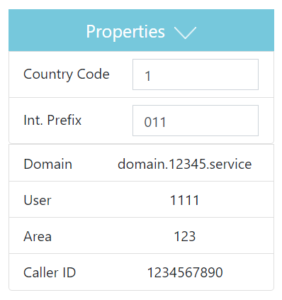
Note: The Dial Length only shows when the Country Code is left blank.