Desktop Native Contacts
The ReachUC Desktop Native Contacts screen lets you easily search through your PBX contacts and customize your Quick Dial contacts found on the Dialpad screen.
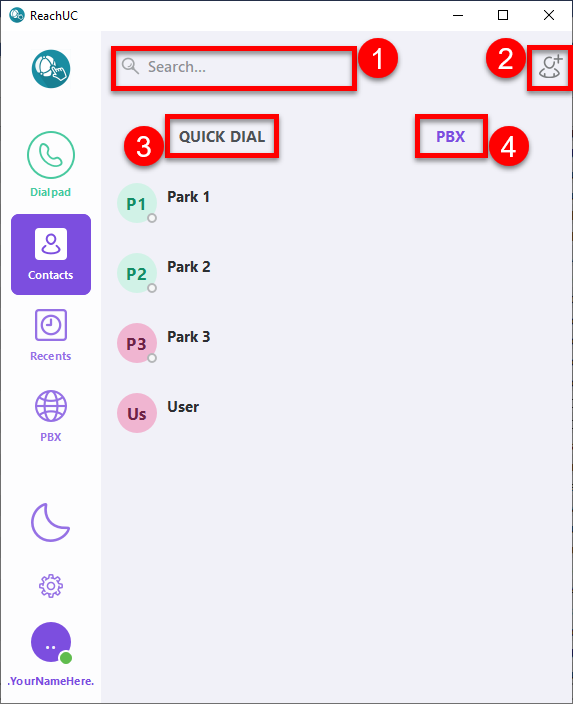
- Search Area – easily search for who you want to contact by entering in full or part the name or number of who you are trying to contact. Note that the results shown will depend on if either Quick Dial or PBX contacts are being shown (you can change this by clicking on the Quick Dial or PBX button.
- Add a Quick Dial – this button will open a dialog to let you add a new entry into the Quick Dial list. Configure the parameters for the new entry and click the Save
 button to finalize or the Cancel
 button to not save the entry.
Note: This is only available when the Quick Dial list is shown.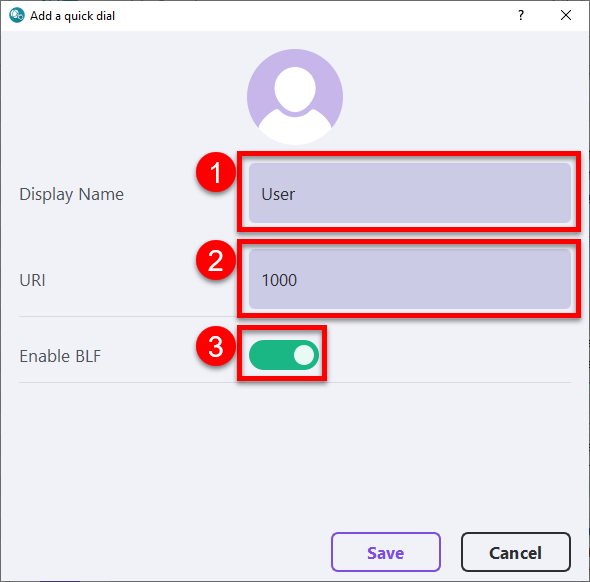
The parameters to configure are:- Display Name
- URI (Uniform Resource Indicator)
- Enable BLF – click the toggle to turn on or off
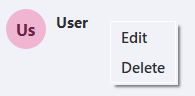
- Quick Dial – click to show the Quick Dial entries. You can right-click on any entry to show a menu to either Edit or Delete an entry.
- PBX – click to show your PBX contacts. Note that you can’t add, edit or delete the entries here.
Contact Details
Clicking on any entry under the Quick Dial or PBX list will open the contact details.
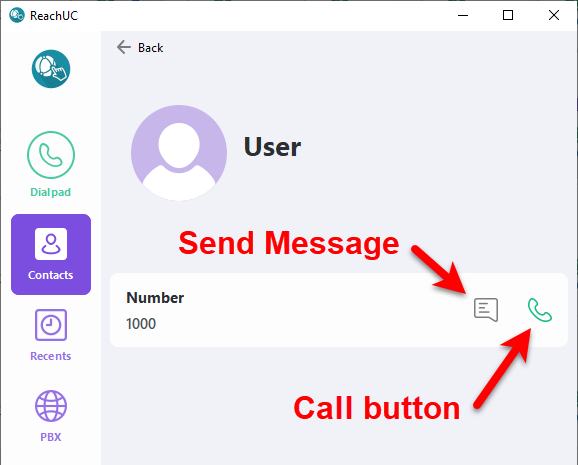
From here you can send a message to the contact by clicking on the Send Message button or initiate a call to the contact’s number by clicking on the Call button.
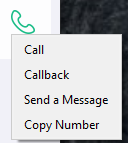
If you right-click on the Call button you will be shown a menu with the option to Call the contact, do a Callback for the contact, Send a Message to the contact, or Copy the number of the contact to your clipboard.